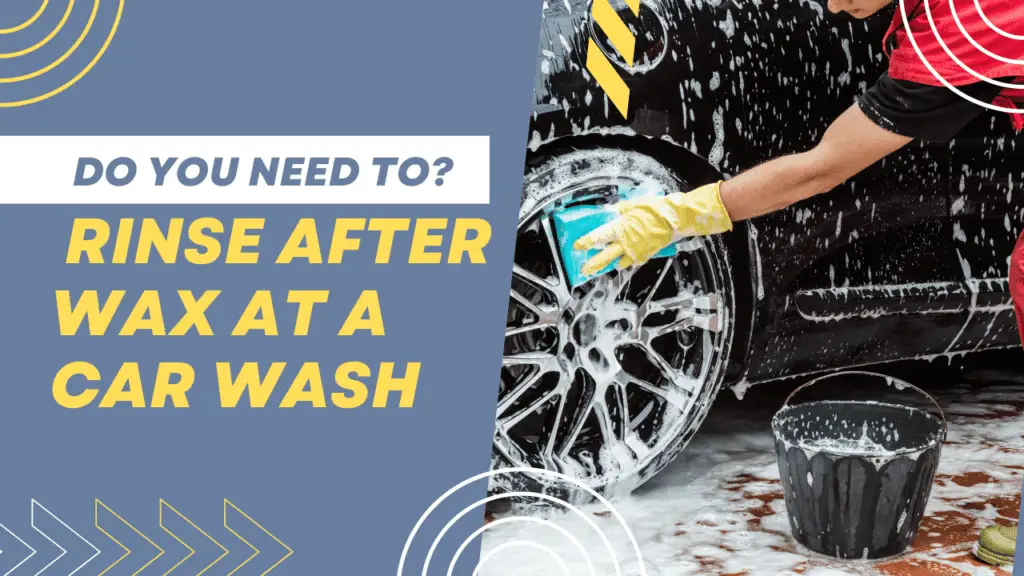
Of all the cleaning that can be done to your car, washing is by far the most popular. It’s the part you see, instant gratification, and a growing number of people describe it as therapeutic or relaxing. So, for step 4 in a series of 10, we’ll be exploring the step-by-step process for properly washing your wheels and paint in sequential order. Professional detailer Larry Kosilla walks through these steps in the Autoblog Details video series, sharing tips on car cleaning and maintenance.
Before beginning, it’s vital to prepare your tools and supplies. Fill three buckets: one with car soap, another with wheel soap, and a rinse bucket with only water. Adding a grit guard and washboard to each bucket prevents dirt from traveling back into the wash mitt, reducing the risk of scratches. Specific tools for the wheels, such as a wheel woolie and a lug nut brush, ensure that each part of the wheel gets properly cleaned without contaminating the paint. Always start with the wheels to prevent water spots on the paint, and work one wheel at a time for the best results.
Table of Contents
Preparing Your Tools and Supplies
Before starting the actual washing process, it is essential to prepare your tools and supplies adequately. You will need to fill three buckets with different contents: one with car soap, another with wheel soap, and a third with just water for rinsing. Moreover, include a grit guard and a washboard in each bucket. This setup helps in preventing dirt from re-entering the wash mitt, thereby reducing the chance of scratches.
Specific tools for cleaning wheels are equally important. Items like a wheel woolie and a lug nut brush are designed to clean different parts of the wheel effectively without contaminating the paint. Notably, the wash mitts used for wheels should never be used on the paint, and it’s wise to use older paint mitts that have become too dirty for the paint. Always follow the golden rule: never use the same mitt for both wheels and paint.
Cleaning the Wheels: Step-by-Step
Start with cleaning the wheels to avoid water spots on the paint, and focus on one wheel at a time. Begin by pre-rinsing the wheel to minimize the risk of scratching the paint with brake dust. Apply wheel cleaner evenly across the face of the wheel and immediately start cleaning from the top to the bottom using a wheel woolie for the inside of the rim. Subsequently, use a lug nut brush to clean tight spots like around the air valve and lug nuts.
After the initial cleaning, use a specific wheel wash mitt to clean the front of the wheel face. Make sure to regularly rinse the mitt in the wheel bucket to avoid reapplying dirt. Additionally, consider brushing the rubber or scrubbing the wheel wells using a long-handled wheel woolie. Once everything is soapy and clean, rinse the wheel and repeat the process for the remaining wheels.
Washing the Car Paint
With all four wheels clean, it’s time to focus on the car paint. Start by pre-rinsing the paint from top to bottom to eliminate loose dirt and reduce the likelihood of scratches. This step is best done out of direct sunlight to prevent premature evaporation. Once the heavy dirt is rinsed off, use a soapy wash mitt to wash the car in straight lines from top to bottom, continuously dunking the mitt into the rinse bucket to remove collected dirt.
For particularly dirty cars or soft black paint, consider using a foam cannon attached to your hose. This method pre-soaps the paint and further minimizes the risk of scratching during the wash. Moreover, using a soft, long-haired brush can help agitate trapped dirt around emblems, window frames, and door locks during the wash.
Tips for Effective Washing
An essential tip for effective washing is to use two wash mitts—one for the top half of the car and another for the lower half which tends to be dirtier. This practice minimizes the transfer of dirt across the vehicle’s surface. Additionally, always rinse the car from top to bottom to ensure that the dirt flows down and off the car, rather than being dragged across the paint.
Remember to be gentle when scrubbing areas like door jambs, gas doors, and around the emblems to avoid scratching. Use the soft brush lightly and make sure to rinse these areas thoroughly. Lastly, it’s advantageous to wash the car either early in the morning or late afternoon to avoid direct sunlight, which can cause soap to dry and leave residues.
Washing your wheels and paint might seem like a daunting task at first, but with the right tools, techniques, and a bit of patience, it can be a straightforward and even enjoyable process. By preparing your supplies ahead of time, using specialized tools for different parts of your car, and following a methodical approach, you can ensure a thorough clean without damaging your vehicle.
Always remember to start with the wheels, use separate tools and mitts for wheels and paint, and avoid washing your car in direct sunlight to prevent water spots. Taking these steps will not only make your car look great but also help maintain the quality of its finish over time.
Following the step-by-step guide provided, anyone can achieve professional-grade results at home. The key is to be meticulous and patient, ensuring that each area of the car is given the attention it deserves.
With consistent practice, these techniques will become second nature, making your car washing routine quicker and more efficient. The satisfaction of seeing your car gleam after a good wash is well worth the effort.