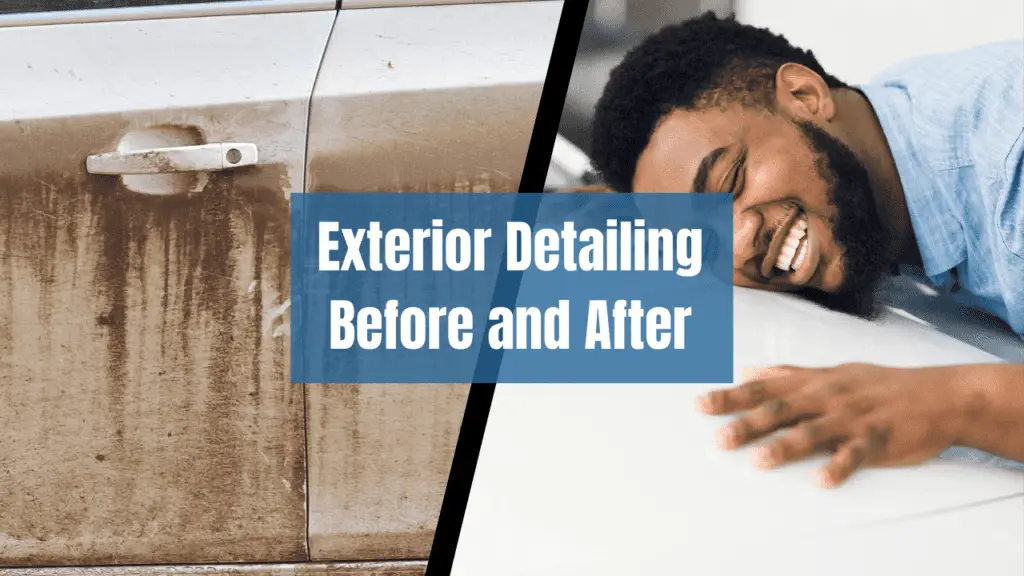
Have you ever looked at your car and wondered how to bring back its former glory? The team at Autoblog is launching a special series of videos titled ‘Autoblog Details,’ where they will guide you through the intricate process of car detailing. In this 10-episode saga, professional detailer Larry Kosilla tackles the complete detailing of a 2008 Hyundai Santa Fe, transforming it from dull and worn-out to a sparkling beauty. Each episode focuses on different aspects of the detailing process, providing you with the insights and techniques needed to achieve professional results. Although not all cars require every step, and not every paint defect or stain will be the same, you’ll gain a comprehensive understanding of how to effectively and efficiently restore your vehicle.
The series begins with diagnosing paint conditions and setting up the necessary tools. Kosilla emphasizes the importance of inspecting your car’s paint for issues like swirls, spiderwebs, and deeper scratches, explaining how to identify these problems and what tools you might need to address them. As he walks through the initial steps, he provides helpful tips such as using a Ziploc bag over your hand to feel for subtle imperfections and the value of paint depth gauges for understanding your car’s paint thickness. Gathering all tools beforehand is recommended to save time and ensure a smooth workflow. This series is a must-watch for anyone looking to rejuvenate their car and maintain its longevity.
Table of Contents
Diagnosing the Paint Condition
The detailing journey begins with a thorough paint inspection. This involves a quick walk-around to identify any dents or new scratches, especially important for customer cars. The main issues you’ll be looking for are swirls, spiderwebs, and what are humorously called ‘love marks,’ usually caused by improper washing and drying techniques. Deeper scratches are a different beast altogether, often requiring heavy compounds or even wet sanding. A simple fingernail test can help; if your nail catches in the scratch, it’s unlikely to be fully removed.
Illumination is key when diagnosing paint conditions. Using a single light source directly in line with your eyesight can reveal flaws that might be missed under full lighting. Feeling the paint with your hand is another essential step. Smooth paint should feel like glass, while rough paint indicates the need for claying. For those who struggle to feel these imperfections, a Ziploc bag over your hand can heighten sensitivity. Paint depth gauges are invaluable tools that measure the thickness of the paint in thousandths of an inch. This helps to avoid the costly mistake of burning through the clear coat during compounding and polishing.
Gathering Your Tools
Preparation is crucial when it comes to detailing a car. Gathering all the necessary tools beforehand can save you a significant amount of time. Some essential items include paint lights, Ziploc bags, paint depth gauges, and various polishing compounds. Organizing these tools in a cabinet, box, or dedicated corner of your workspace can make the process much smoother.
The initial stage involves removing all items from the car’s interior. This step is vital for both personal and customer vehicles. Store these items in a bag or dispose of them if they are unnecessary. While doing this, take note of the interior condition to identify areas that may need extra attention. Floor mats, for example, should be removed and cleaned early in the process to allow ample drying time. If the mats are extremely dirty, scrubbing and soaking them is necessary, followed by proper drying methods to prevent mold and mildew.
Initial Cleaning Steps
Once the vehicle’s interior is cleared, you can proceed with the initial cleaning. Begin by inspecting the vehicle’s surfaces to identify any areas that need pre-treatment. This could include specific stains on seats or carpets. The aim is to ensure that no area is overlooked and that every surface receives the appropriate treatment.
Shampooing the floor mats is a crucial part of this stage. Removing them early allows you to clean them thoroughly while you continue with other tasks. Lean the mats against a wall to drip-dry, and use a fan to speed up the process if necessary. Even if the mats are not too dirty, it’s a good idea to remove them from the car to avoid soaking up any water that might accumulate during the cleaning process. This proactive step ensures a more effective and efficient detailing session.
Detailed Paint Correction
Paint correction is the heart of any detailing job. This phase focuses on removing imperfections like swirls, scratches, and oxidation from the paintwork. Depending on the severity of the defects, you’ll need various abrasives, compounds, and polishes. Always start with the least aggressive method to preserve as much of the clear coat as possible.
Using a dual-action polisher can make a significant difference in the results. This tool allows you to apply compounds evenly and reduces the risk of paint damage. Always keep the pad clean and use the appropriate type for the compound you are applying. Regularly check your progress by wiping away the compound and inspecting the surface under good lighting. This iterative process ensures you don’t overdo any area, maintaining the integrity of the paint while achieving a flawless finish.
Engine Compartment Cleaning
The engine bay is often overlooked during regular car washes but is an essential part of a comprehensive detail. Start by covering sensitive electrical components and air intakes with plastic bags to protect them from water and cleaning solutions. This precaution keeps critical parts safe while allowing you to clean the engine thoroughly.
Use a degreaser to break down grime and oil buildups in the engine bay. Apply the degreaser generously and let it sit for a few minutes to loosen the dirt. Follow up with a gentle scrubbing using a soft brush to avoid damaging any components. Rinse the area carefully with a low-pressure hose, ensuring all the cleaning solution is removed. Finally, dry the engine bay with microfiber towels or an air blower to prevent water spots and ensure a clean, dry finish.
In conclusion, detailing your car is not just about aesthetics. It’s an investment in the longevity and upkeep of your vehicle. By following these thorough steps, from diagnosing the paint condition and gathering the necessary tools, to executing detailed paint correction and even cleaning the often-neglected engine compartment, you can ensure your car remains in top-notch condition.
While the 2008 Hyundai Santa Fe used in this series may require specific attention, the principles and techniques demonstrated are universally applicable to any vehicle. Whether you are a professional detailer or a car enthusiast, these episodes provide invaluable insights that can be tailored to fit your specific needs. Remember, the aim is to achieve the best possible results while preserving the integrity of the car’s paint and components.
Professionally detailing your car might seem daunting at first, but with methodical planning and the right tools, it becomes a manageable and even enjoyable task. The sense of accomplishment and the transformative results make all the effort worthwhile. So, take your time, follow the steps carefully, and enjoy the process of transforming your vehicle back to its pristine condition.


